Not sure how much it costs to publish a Chrome extension?
You’ve come to the right place.
Most startup owners create extensions easily but struggle to publish them on Chrome Web Store.
For many of them, it’s because they don’t know the process, setup, or costs behind it.
On the other hand, some of them overspend on unnecessary things, while others need to catch up on crucial steps.
If you’re planning to publish your extension on the Chrome web store, you probably have these questions and many doubts.
After reading this post, you will learn exactly how much it would cost to publish a Chrome extension and how to do it.
So, let’s dive straight into it.
How Much Does it Cost to Publish a Chrome Extension?
Considering you’ve already developed the extension and the only step remaining is to publish it, it would cost you a one-time $5 fee to publish it on the Chrome web store.
You need a CWS developer account to publish your extension. And to register your account, you must pay this one-time fee.
Other than that, it’s free to publish on the Chrome web store.
But, if you haven’t created your extension yet, it might cost you anywhere between $5 to $50,000 based on set-up costs. It can be less and more than this.
The range varies too much because most of the expenses are optional.
If you’re the developer and have a computer, you can create the extension without spending money and publish it on the Chrome Web Store after paying a $5 fee.
But if you’re not, you will need help developing it. You’ll also have to pay for other charges.
Here’s a breakdown of the costs involved in developing an extension:
Developer costs
Hiring a developer to create the extension can cost between $500 to $10,000.
Software costs
It’s essential to have reliable software for an extension to run smoothly. Based on the complexities of your extension, it can cost you from $100 to $10,000.
App creation costs
If you’re launching an extension, you might also want to launch its app version on Google Play Store and Apple Store. So, to create an app, you might need to pay between $1,000 to $10,000.
Website development costs
For users to download your extension, they need to land on a website (landing page) that displays its benefits. To get a website done, you will have to pay between $500 to $10,000.
Advertising & marketing costs
To get new visitors to check out your landing page and download the extension, you must market it consistently. Marketing methods like paid ads, content marketing, and influencer marketing can cost between $500 and $10,000.
Clearly, it’s really about how much you can contribute and want to outsource.
You don’t have to pay for anything to publish your extension if you can. But you can outsource almost everything if you’re busy and have the budget.
Following down, this post will focus on the steps involved in publishing an extension on the Chrome web store.
So, if you haven’t built an extension yet, you can follow these guidelines from Chrome for publishing extensions.
Once the extension is ready to publish, you can continue from here.
How to Publish your Extension on Chrome Web Store
The process isn’t complex since you have already done the hard part of creating your extension.
Now, you must follow this step-by-step tutorial to publish your extension on the Chrome web store.
Step 1. Create your extension’s zip file
To upload your extension without hassle on the Chrome Web Store, you need to convert it into a zip file. Start with creating a directory of the following starter zip files:
- manifest.json
- background.js
These files contain important information about your extension, including its name and version. This information is what users will see while browsing the web store.
Step 2. Register for a Chrome Web Store developer account
The only way to upload your extension to the Chrome Web Store is by creating a developer account. And this is where you need to pay a one-time $5 fee.
Use a new developer email to register your account through the developer console window.
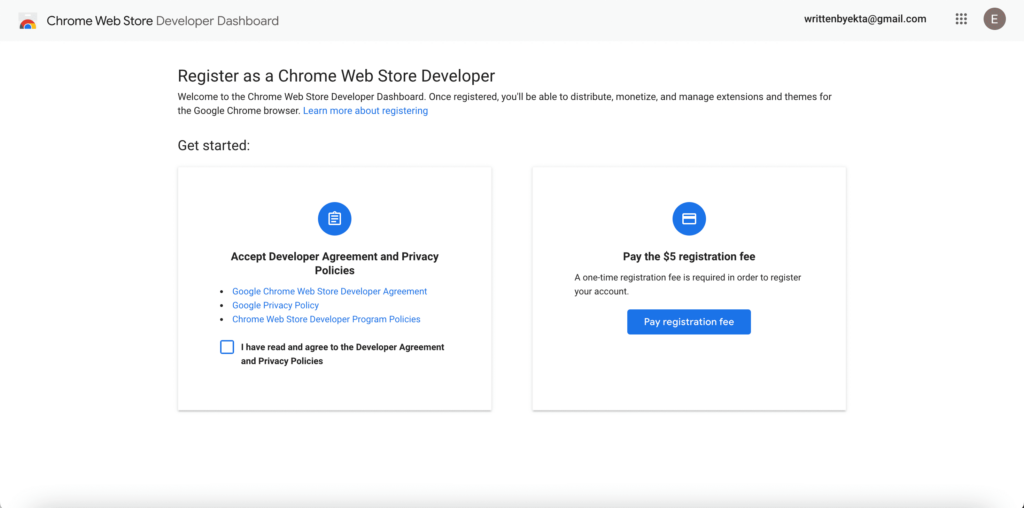
After paying the registration fee and agreeing to the terms, you will now have your developer account on the web store.
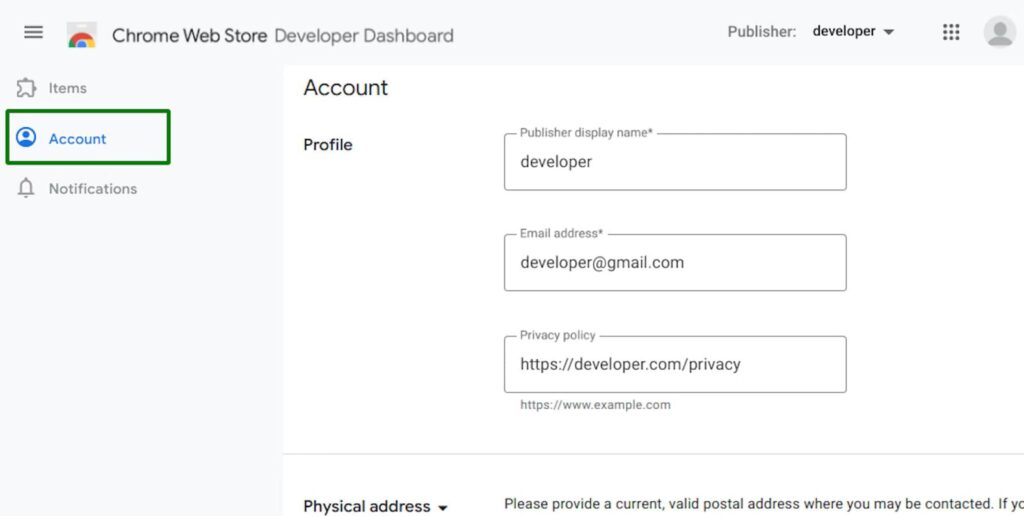
You can set up your account and add more details, like your profile name and email address. Take some time to fill them out, as these information will pop up on your display profile.
Step 3. Verify your developer email
After setting up a new developer account, you must verify your developer email to upload an extension.
To verify your email, click on the ‘Add email’ button on your Account page, and enter your email address. The Chrome web store will now send a verification link to the email address you just entered. Click on the link to verify your email.
Now your account is all set to upload your extension.
Step 4. Upload your extension
Follow these steps to upload your extension.
1. Go to your Chrome developer dashboard and sign in to your developer account using your just-verified email.
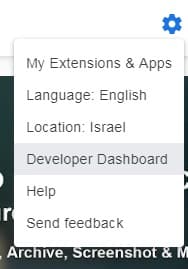
2. Click the “Add new item” button on your dashboard.
3. Then, follow this query: choose file > your zip file > upload.
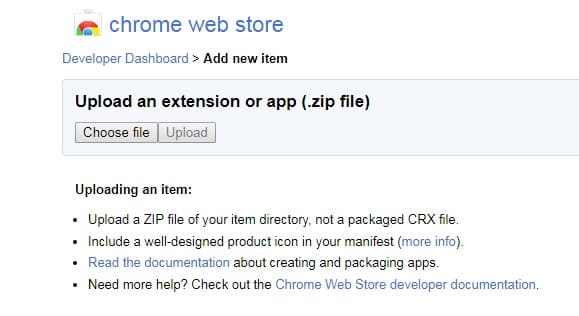
If your extension’s manifest and zip files are valid, you can edit your item on the next page.
In the next window, you can complete your listing and add details like item descriptions, icons, and images or screenshots.
Once done, the next step is to submit your extension for publishing.
Step 5. Submit your extension for publishing
After uploading the extension and saving the changes, you will see it as an item in your dashboard.
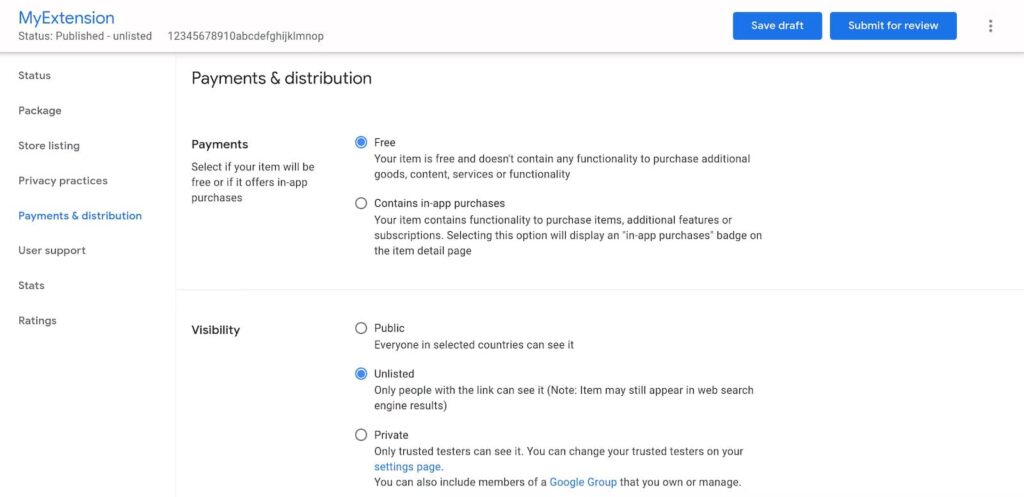
As you submit your extension listing for review, please take some time to fill out the relevant information in these columns.
Here’s a quick breakdown of what to fill in each section:
Product Details
Here, you need to fill out details that the users will see.
Some of our tips are as follows:
- Give your extension a catchy title.
- Write a detailed description explaining how the extension benefits its users. The description should invite them to download the extension.
- Choose the right extension category so the extension appears for the right searches.
- Choose the language to help users find it.
- Add as many images or videos to showcase your extension. Using images to show how your extension helps users solve problems is best.
Privacy Details
Under this section, you need to set privacy and permissions to use your extension.
- Single-purpose description: Write in one line the focus of your extension. It should tell users what your extension does.
- Permissions justification: This is a list of permissions your extension uses. You must fill out tabs to tell users why your extension uses each permission.
- Remote code: Choose the “Yes, I am using remote code” and justify why your extension uses it. If not, choose the latter.
- Data usage: Use this field to tell users about how your extension collects data and why it’s crucial.
Payments & Distribution Details
This section will ask whether your extension is free or paid and which countries can display it.
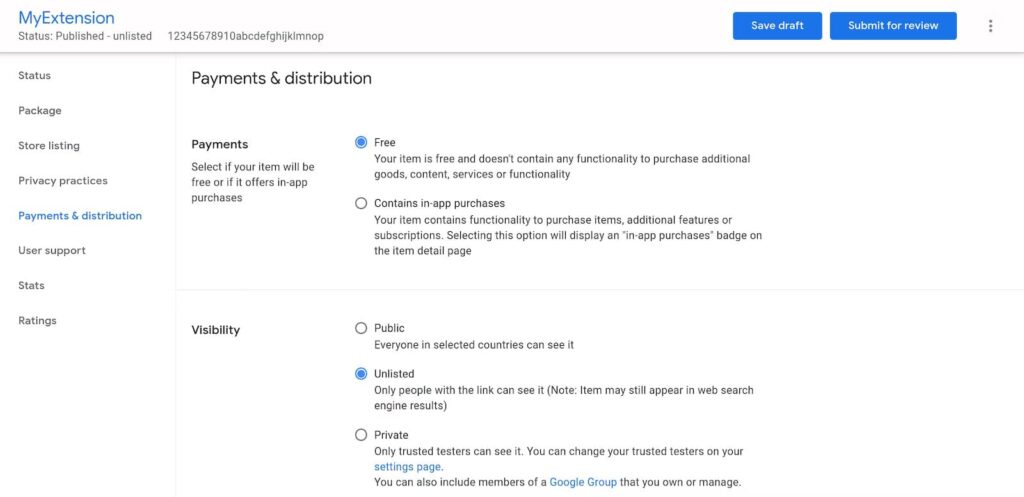
In the “Payments” option, pick an option if you want the extension to be free or contain in-app purchases.
The “Visibility” option lets you choose who can view your extension on the Chrome Web Store.
The “Distribution” section defines the region you want to display your extension.
- Choose “All regions” to show it everywhere.
- Select appropriate countries if your extension is area-specific.
Now that you’ve filled out all the details, you’re ready to publish on the web store.
Step 6. Publish your extension.
The next step is to submit your extension for review.
To complete this step, click on the “Submit for review” button, and you will see this dialog box that asks for your confirmation for submission.
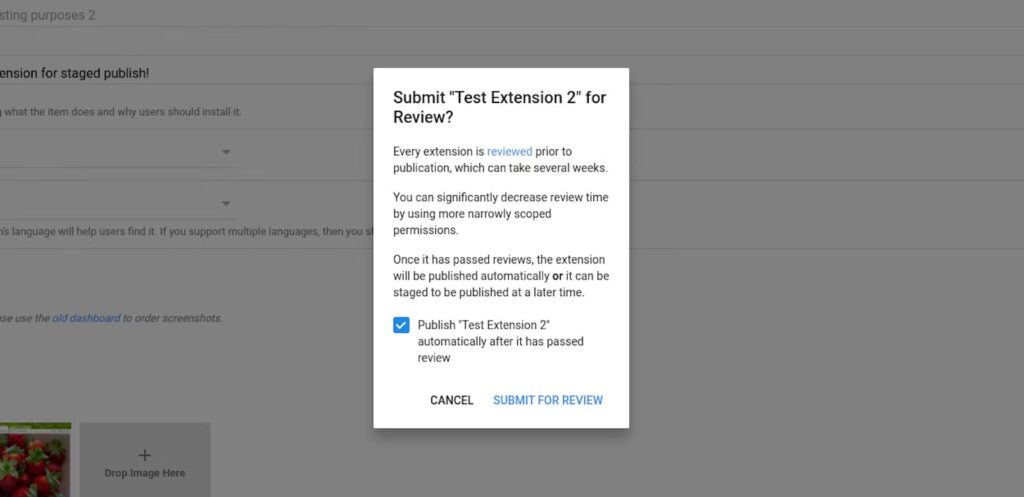
And that’s it! That’s how easy it is to publish your extension on the Chrome Web Store.
On the other hand, if you want your extension to control the time when the extension should go live, you can do so by choosing the “Defer publish” option.
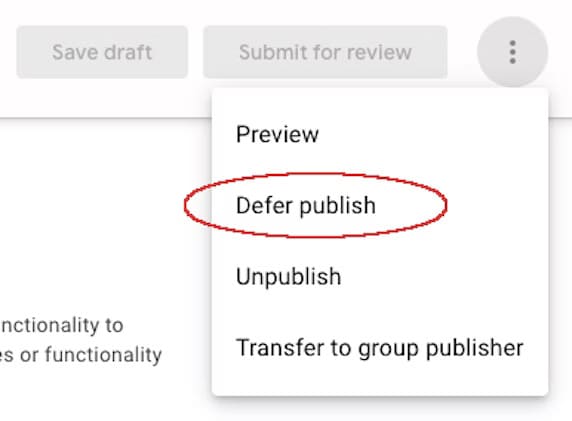
If you keep the option unchecked, the extension will go live immediately after completing the review process. By keeping it checked, you can manually publish it within 30 days.
It’s a valuable option if your extension is still a work in progress.
Remember, before publishing, you can update your saved draft as often as possible.
So, if you need more time to develop the extension or to make changes, you can also keep it as a saved item on your Chrome developer dashboard.
Final Thoughts: The Cost of Publishing a Chrome Extension
Publishing an extension in the web store will cost you $5 if you already have it. But, if you’re starting from scratch, it might cost between $5 to $50,000 to build and publish an extension.
Publishing an extension is a simple process. But you need to give it some time to make your listing more valuable since your conversion rate depends on it.

